


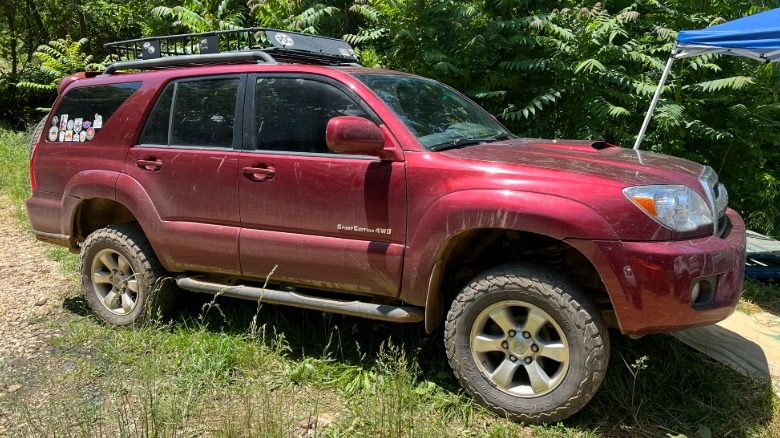
Cars are too expensive these days, even used ones, so people are holding onto their old cars longer than ever. My wife is no exception, with her 20-year-old Toyota 4Runner creeping up on 300,000 miles while still going strong. But our old Toyota is starting to show its age. I had to replace all eight ignition coils last year, and we had to fix a coolant leak a few months ago.
The worst problem, however, was that the auxiliary audio input jack stopped working, meaning she could no longer pipe Spotify from her phone through the stock stereo. This was a major emergency, because she has to have her music, and even the stock six-disc CD changer doesn’t hold enough variety for her.
 Justin Hughes / Jalopnik
That’s when I suggested upgrading her head unit to one that supports Apple CarPlay. While manufacturers keep taking it away from new cars, it’s fairly easy to add to an older car like her 4Runner. Not only would it bring her Spotify back, it would modernize the experience and put navigation on her dashboard as well. Despite its age and mileage, we’re not getting rid of the 4Runner anytime soon, so it was worth making a small investment to bring its infotainment into the 21st century. It’s actually much easier and less expensive to do this for an older car than a newer vehicle. That’s why her 20-year-old SUV has CarPlay, but my 2021 Ford Transit camper van doesn’t. (My previous van, a 2003 E-250, did.)
A DIY job
It does take some simple tools, a little bit of mechanical aptitude, and occasionally some problem solving skills to install a stereo. Fortunately, the info is out there and readily available to guide you through the process. Vehicle-specific forums are always a good source, particularly for older vehicles that got well-documented before everyone moved to Facebook groups, then enshittification made it impossible to search for any useful information. Not that I’m bitter.
Personally, I’ve been buying car audio from Crutchfield for years. (This is not a sponsored post — I paid retail price for the CarPlay head unit and am just a satisfied customer.) Not only do they determine what equipment will fit your car, but they also include any mounting hardware and wiring harnesses you need, as well as detailed instructions on how to install it that have never led me astray.
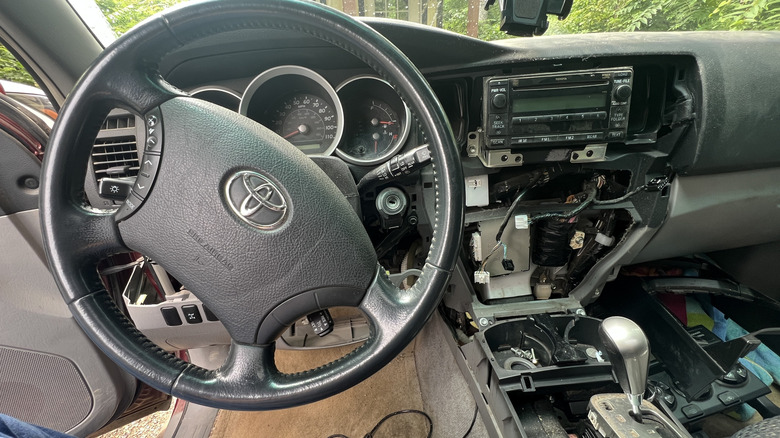
After ejecting all the CDs (you can’t leave Johnny Cash stranded), I followed the instructions to dismantle the dashboard and center console enough to remove the original head unit. It may look complicated, but Crutchfield’s instructions identify every screw and bolt you need to remove. Basic hand tools will do the job. For this, I used a Phillips head screwdriver, plus 10mm and 8mm sockets. That’s it. Also, I’m quite impressed how well the plastic interior pieces have held up to the test of time. Our Dodge farm truck’s plastic is falling apart badly, but I could gently pull the Toyota’s panels apart with my bare hands, no pry bar required, and without damaging them.
Mix and match
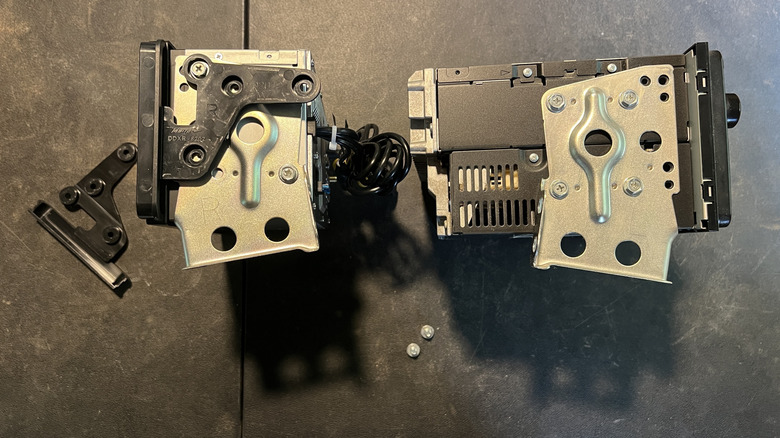
Once the original head unit is out, the real fun begins. Every vehicle is different, but in my case I had to transplant the mounting brackets from the old CD changer to the new CarPlay head unit. I also had to attach a couple of trim pieces to fill in the gaps that would have existed on either side, since the Toyota head unit is slightly wider than the standard double-DIN size. It took a little work to figure out which of the many mounting holes on the side of the CarPlay head unit to use, but I figured it out.
 Justin Hughes / Jalopnik
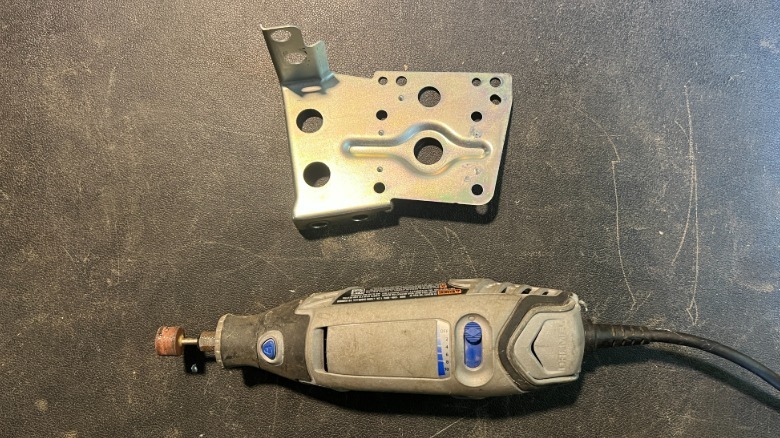
I had to slightly modify the original mounting brackets. There are small metal indentations that help position the bracket properly for the stock head unit, but they prevented a perfect fit on the new CarPlay unit. I used a Dremel to grind these nubs off. This won’t prevent me from swapping the original head unit back into the 4Runner later if we ever get rid of it. I also had to trim part of the side trim pieces off, since they didn’t want to fit into the dashboard. Even Crutchfield’s instructions don’t cover every single thing you’ll need to do, so you’ll have to make a little bit up as you go along.
One part you won’t need to figure out, however, is the wiring harness. The head unit comes with one part, and Crutchfield includes its counterpart that plugs into your vehicle’s factory wiring. You won’t have to cut, splice, or alter any of your car’s wiring. You just need to match up the colors of the wiring on each side of the harness, splice them together, and plug everything in. I’ve used crimp connectors successfully in the past, but I know how to solder, so I soldered the whole thing together. It may be overkill, but it should outlast the car. The best part of using the wiring harness and mounting kit is that if you ever sell your car, you can easily reinstall the original head unit and keep the CarPlay unit for your next ride.
The result
As the Haynes repair manuals like to say, “Installation is the opposite of removal.” First, I did the bare minimum to make the CarPlay unit functional, paired my phone, then put on some tunes to make sure sound came out of all the speakers. Then I installed the included microphone and GPS antenna, mandatory so the head unit can disable video playback while you’re moving. I also ran this unit’s two USB pigtails through the dashboard innards so they stick out and are accessible after reassembly. The head unit supports a backup camera, but the old 4Runner doesn’t have one, so I could skip that part. Finally, I put it all back together before my wife saw her exploded dashboard and got scared that I couldn’t put it back together.
 Justin Hughes / Jalopnik
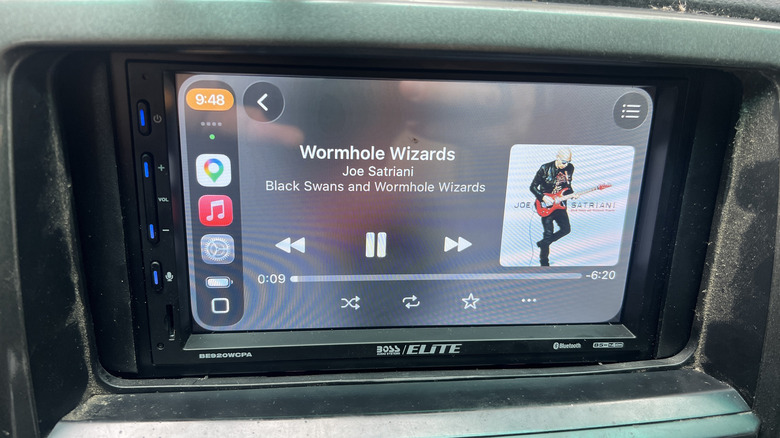
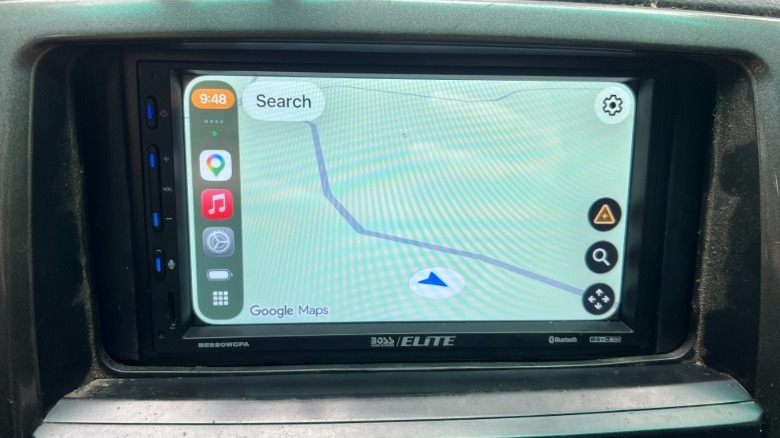
I called my wife out to show her the final product, and to pair her phone to automatically connect wirelessly. (I’ll use a wired connection so her phone will have priority.) I showed her how to access Spotify, Google Maps, and whatever else she needed. I also showed her the volume controls on the side of the new head unit, since the steering wheel controls she used aren’t connected anymore. We could have bought an adapter to enable them, but it would have cost roughly $250, which is how much this particular head unit cost. It wasn’t worth doubling the project budget just for that, and she’s happy with the result.
That’s right, it cost about $250 to bring the convenience of Apple CarPlay to a 20-year-old vehicle, as well to bypass the audio problem that prompted this upgrade in the first place. That’s a fraction of a modern car payment. If you’re an Android person, every unit I’ve seen that supports CarPlay also supports Android Auto, so you’re in luck, too. So if you wish you had modern infotainment in your older car, wish no more. Adding it can be rather affordable, and it’s even easier than adding it to a more recent car.