


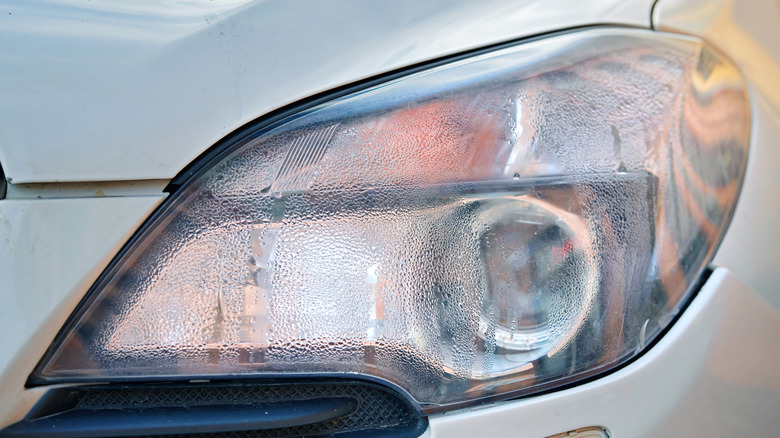
Water is supposed to stay outside your headlights, not inside. Moisture in your headlights affects the optics, making them generally dimmer or even causing blind spots where no light shines at all. In states that have vehicle inspections — and the resulting worst car-inspection stories – this can mean an automatic failure. They also look ugly. Once fog or droplets enter such a small confined space, it can be difficult to get it out.
But not impossible, usually. A short-term fix can be as simple as turning on your headlights. The heat from halogen bulbs may be enough to evaporate the moisture . Removing the bulb, then blowing out the inside of the headlight with a hair dryer or compressed air can be an option as well, if you can reach the back of the housing. You can even toss some silica gel packets inside to help absorb the moisture.
This may clear it up temporarily, but it’s not a long-term fix. The two options are to repair the headlight or replace it entirely. Which option is better for you depends on how easy it is to fix the problem and how much a replacement headlight costs.
Repair the headlight
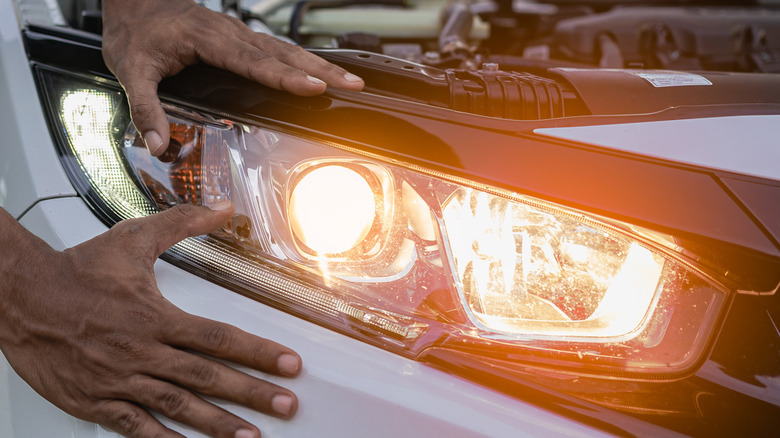
One of the most common reasons condensation collects inside a headlight is a clogged vent. Natural evaporation should normally keep the headlight clear, but if the vent is clogged, it can turn the headlight into a terrarium. Clearing the vent by wiping it out or using a little bit of compressed air can help prevent this problem.
If that doesn’t solve it, check the seals, starting with the seal where the bulb clips into the headlight housing. These seals are made of rubber or foam and can wear out over time, allowing moisture in. If that’s the case, replacing the seal can be a quick, easy fix.
Less simple is the seal between the clear lens and the back of the headlight housing. Some headlights let you take them apart so you can access and replace the seals between the lens and housing. However, many headlights are simply glued together and difficult to repair. You may be able to use a bead of silicone sealant to seal them up. It’s also possible to put headlights in an oven to melt the glue to separate the lens and housing, then glue them back together for a good seal. At this point, however, it’s worth considering replacing the headlight instead, especially if the cooks in the family don’t want you baking headlights instead of cookies or lasagna.
Replace the headlight
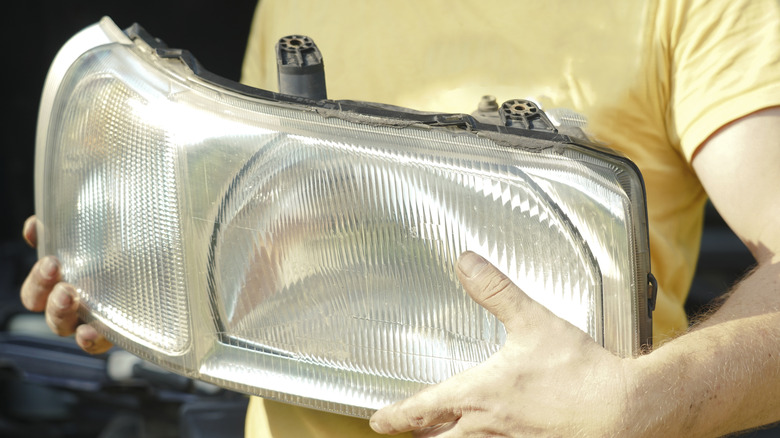
Depending on your vehicle, it may be necessary to remove your headlight to access the vent or bulb. It certainly makes access to the back of the headlight a whole lot easier. But once you have the old headlight out, it may be easier to install a new one instead of messing around with the old one, especially if it’s old and suffers from other issues like a yellowed or hazy plastic lens. It’s the same amount of work to remove and install the headlight, and this way, you know the headlight you put in will be good for years to come. If the headlight is cracked or broken, replacement is likely your only option.
The determining factor as to whether you should repair or replace is how much a replacement headlight costs. Our own Brad Brownell dropped a whopping $1,800 on headlights in his effort to de-chrome his Porsche Cayenne. It may be worth putting in a bit more effort to repair headlights that cost more than some cars I’ve owned.
On the other hand, last year I replaced a pair of fogged 20-year-old Dodge Ram headlights for $165. When I built my VW Jetta ute, I spent less than $100 on a pair of Euro-spec headlights that added factory fog lights. Typically, it’s worth trying the easy fixes first, but if they don’t work, it’s up to you how much effort or money makes the most sense.