Lifetime or sealed vehicle parts don’t always end up working as intended. While automakers sell buyers on the ability to never have to change this fluid or swap out that filter, you usually have to end up doing one or the other. I once had a Chevy Sonic with a sealed transmission that started having, you guessed it, transmission problems. Servicing it was a hassle of course but nothing the dealer techs couldn’t handle. What happens when what would otherwise be a simple engine part becomes a massive hassle? Just ask any owner of the first-gen Ford Focus or Fusion.

In most cars, the air filters are one of, if not the easiest, component of the engine to replace. You usually have to replace them every few thousand miles and they’re really cheap. Ford, in its infinite wisdom, took this cheap piece of automotive tech and made it infinitely harder and more expensive to replace for no reason at all.
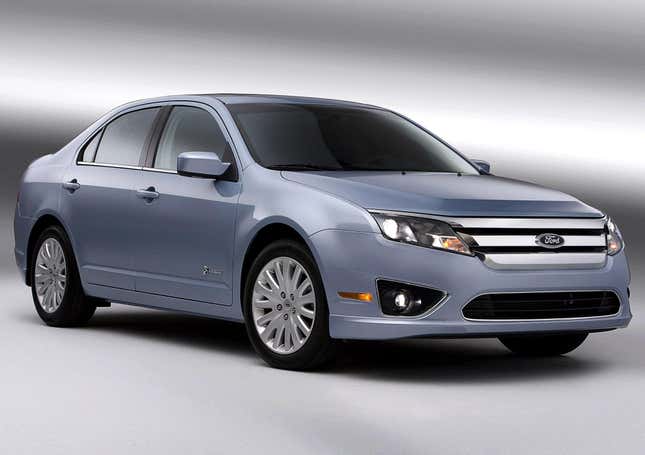
Ford got the bright idea to install lifetime air filters good for 150,000 miles in the 2003-2007 Focus and the 2010-2012 Ford Fusion/Hybrid. The filter was sealed inside its plastic housing and couldn’t be replaced or serviced by either the owner or Ford dealers. Well, it seems Ford under estimated the little Focuses and Fusions of the early ’00s as plenty of folks do need to replace the filters, and it’s a total pain in the ass.
A video posted to YouTube by Rare Classic Cars & Automotive History details how removing the filter and its housing required removing the driver’s side front wheel and inner fender liner to get to the box. Doing this on the Fusion was even worse as one owner explained on the Fusion Hybrid owners forum.
Here my steps to replace the lifetime air filter on a 2012 Ford Fusion Hybrid (YouTube videos linked):
1. Jack up the vehicle on front driver’s side pinch weld. If you do not know how to do this, refer to the owner’s manual.
2. Remove the front left wheel.
3. Remove the fender liner. The clips are 2 pieces. Loosen the pins with a flathead screwdriver and use long needle noose plyers to pull it out. Use caution not to break them. They sell the clips at Ford Dealerships for super cheap if you do. Video to take off fender liner: How to change head lamps on 2012 Ford Fusion – YouTube
4. Take off the front bumper. Some else posted that they didn’t have to do this to replace the filter. That will make this job much harder. Pull it – it’s simple: 2010- 2012 Ford Fusion How to remove front bumper – YouTube
5. Remove the battery: Ford Fusion Hybrid Engine Bay Battery Replacement – YouTube
5. Unscrew the clamps on the air intake assembly. Also unscrew the clamps on the resonator (small oval thing on the air intake assembly).
6. Unscrew the bolts on the lifetime air filter. They are easy to find. Unplug the MAF. Remove the filter.
7. Put the new filter in. It is somewhat difficult to get it back in the air assembly. You might want to grab and extra set of hands to apply downward pressure.
8. Screw on the bolts for the lifetime air filter, plug in the MAF, and reattach the clamps on the assembly.
9. Reinstall the battery. Put the bumper back on. Put the fender back on. Put the wheel back on.
10. Since the car was taken off the 12 V battery, you will need to re-trim the idle. Refer to the section on page 292 of the owner’s manual to do this. Because the MAF sensor was replaced, do not skip this step.
It’s a fairly easy job. I hope this helps. I may have missed a step or two but it’s pretty easy to figure out. Happy to report that after doing this it seems like the car has a little bit more power and starts up a bit smoother.
Attached are pictures of a service procedure from the dealer, the car jacked up, and the old air filter we opened up with a saw.
Hope this helps.

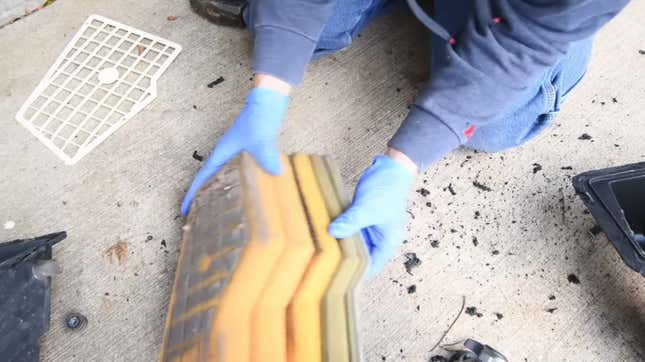
Once the filter is eventually removed and the housing cut opened, you can see that the filter inside is indeed unique, with five layers and almost a honeycomb look to it.
There is a solution as Rare Classic Cars pointed out on YouTube. A company by the name of Dorman Engineering makes a replacement filter box that allows for replacement of the air filter itself, making it just like nearly every other car on the road. It’s not cheap though and appears to cost anywhere from $250 to well over $300. Pricy, but maybe the new one will last the rest of the life of the vehicle.
Car parts like this are strange to see. They’re often perfect examples of just how short sighted engineering can be.


